Mac Tutorial for Taking Screenshots
- The Entire screen of your Macintosh
- Particular Portion of the screen of your Macintosh
- Specific application window of your Macintosh, If you have many windows open.
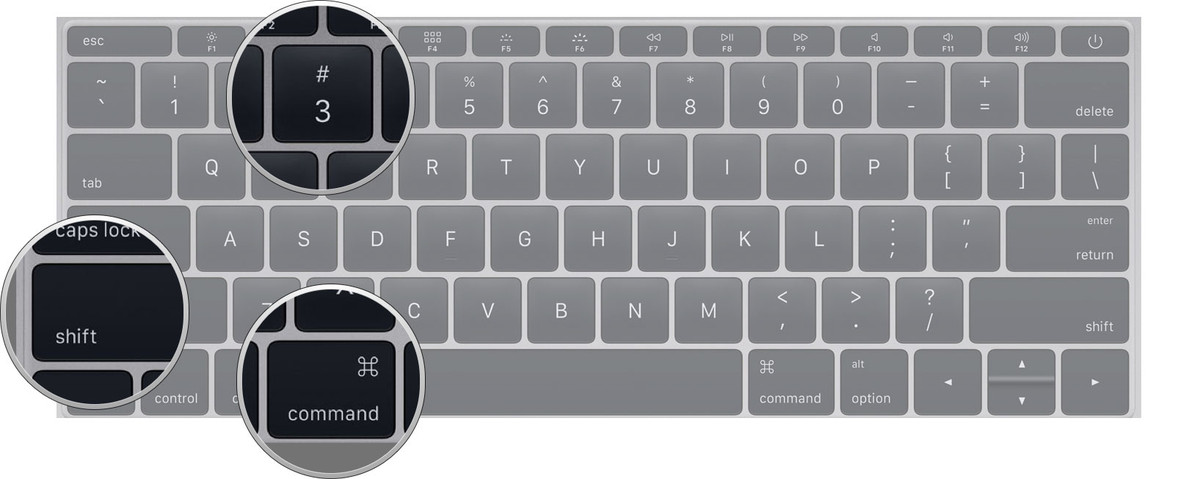
How to take screenshot In Macintosh (Entire screen)
- Press Command + Shift + 3 all at the same time.
- You’ll hear a camera click sound, and your screenshot will appear on your desktop in .PNG format, with the title Screen Shot [Date + Time].
How to take screenshot In Macintosh (custom area )
- Press Command + Shift + 4 all at the same time.
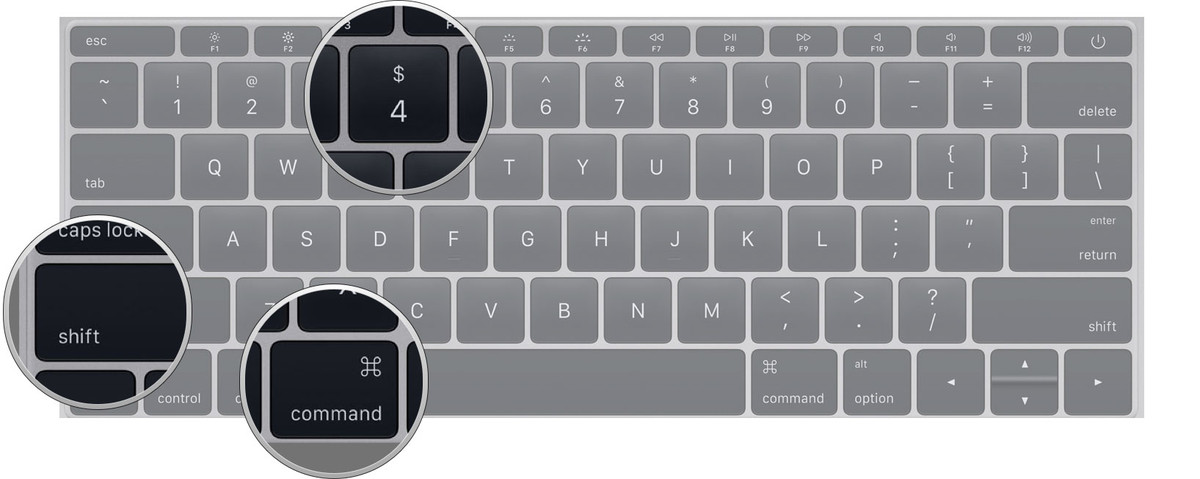
- Select the Particular Portion of your Macintosh Screen with the help of Mouse Cursor then
- You’ll hear a camera click sound, and your screenshot will appear on your desktop in .PNG format, with the title Screen Shot [Date + Time]
How to take screenshot In Macintosh (specific window)
- Open the app and window you want to screenshot.
- Press Command + Shift + 4 all at the same time. Your cursor will turn into crosshairs.
- Press the Spacebar. Your curser will turn into a camera.
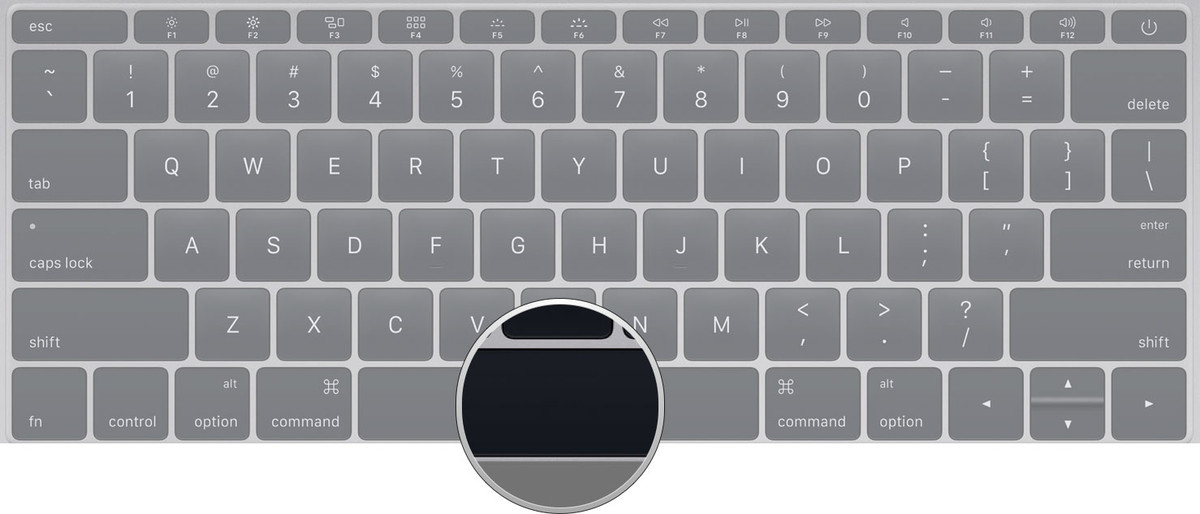
- Place the camera cursor on top of the window you want to screenshot. The window will tint blue so you can make sure it’s the right one.
- Click to take the screenshot.
- You’ll hear a camera click sound, and your screenshot will appear on your desktop in .PNG format, with the title Screen Shot [Date + Time].
How to take screenshot In Macintosh (Clipboard)
- Set up your screenshot exactly as you would if you wanted the results saved to the desktop.
- Press Command + Shift + Control + 3 all at the same time to screenshot the whole screen to your Clipboard.
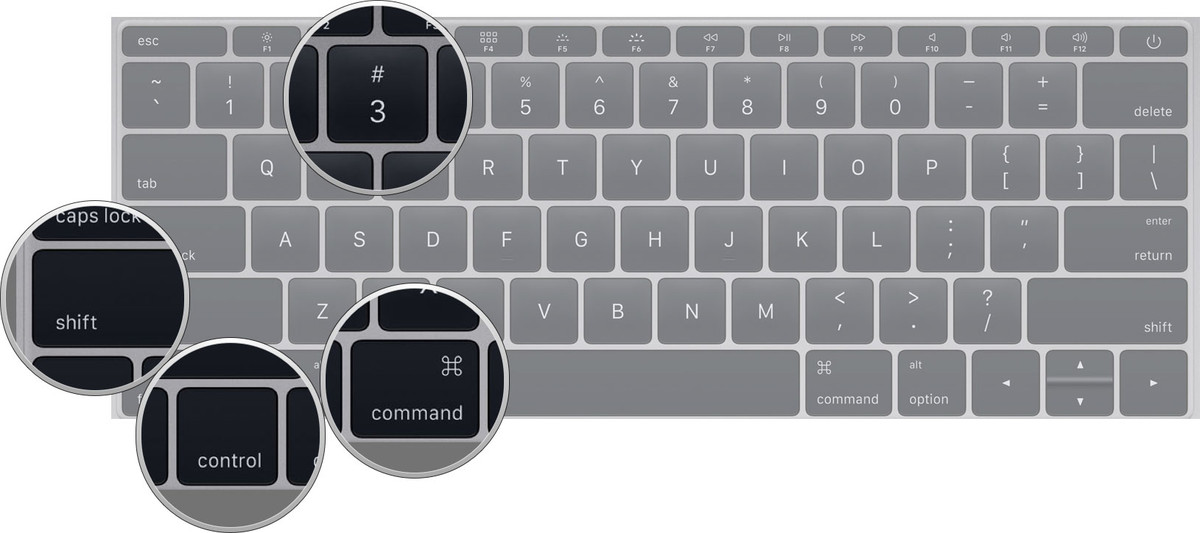
- Press Command + Shift + Control + 4 all at the same time to screenshot an area, or press Spacebar afterwards to screenshot a specific window, to your Clipboard.
Notes:- This is basically Mac Tutorial of taking a screenshot will work with OS X Lion ,OS X Mountain Lion ,OS X Mavericks OS X El Capitan, OS X Yosemite, and most older versions of the modern Mac operating system.